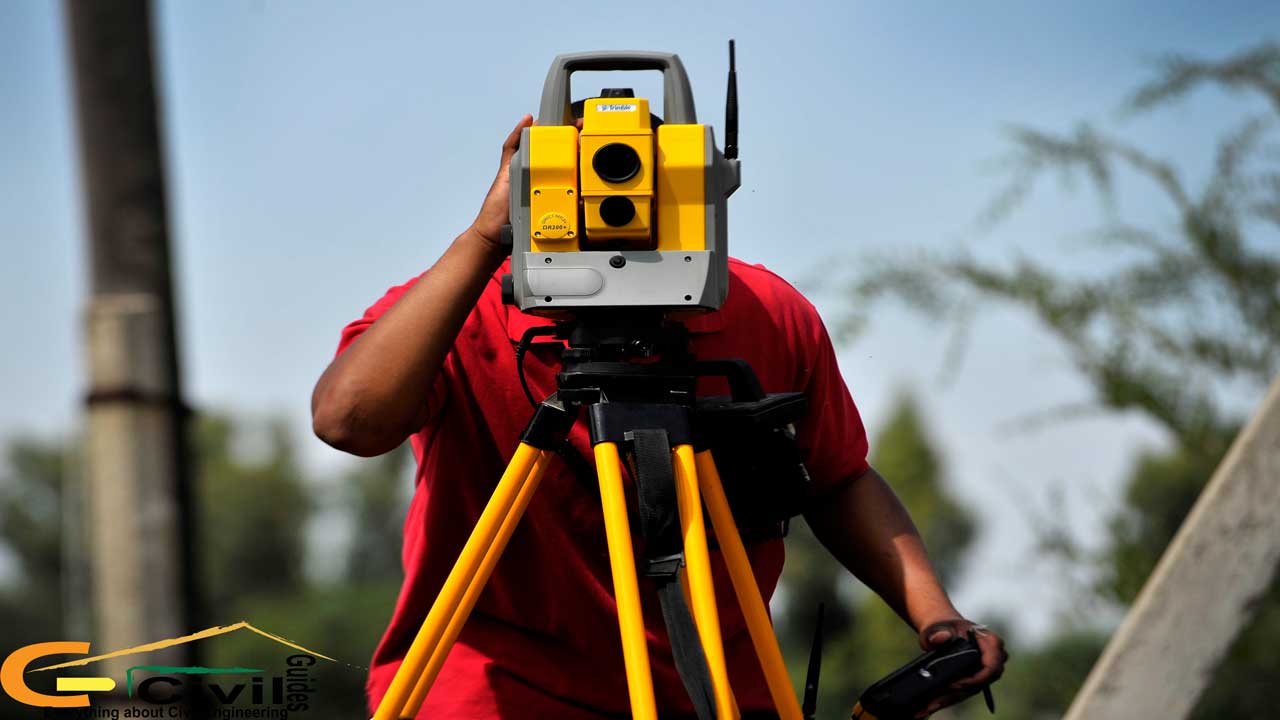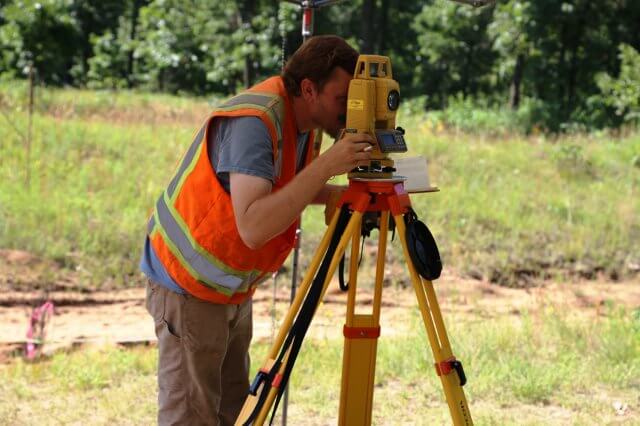
Surveying is a prerequisite for every building construction and infrastructure project. This is an activity that maps out the physical features of a land parcel such as size, elevations, contours, landscaping, amenities, and soil. It involves the coordination of civil engineers, geologists, civic authorities, architects, and urban designers to ensure effective documentation and development of land.
Surveying can be categorised into various types and classifications based on purpose, instrument, and methodologies. One such typology of surveying is plane table survey which is a graphical method of surveying. Keep reading to discover more about it.
What is Plane Table Surveying?
Plane table surveying definition outlines the simultaneous observation and plotting of field conditions on paper by a surveyor. The plane table is a flat, leveled board mounted on a tripod that serves as the drawing surface. This eliminates the need for intermediate calculations and allows surveyors to visualise and map the area in real time. It is commonly used for small-scale surveys, topographical mapping, and situations where quick, approximate results are sufficient. This technique is simple, cost-effective, and useful in terrains where precision instruments might be challenging to use.

4 Types/Methods of Plane Table Surveying for Civil Engineers

With a conceptual understanding of what is plane table surveying is, let’s now delve into the types of plane table survey, their applications, pros, cons, and suitability that are based on 4 methods of plane table surveying.
1. Radiation Method of Plane Table Surveying
The plane table survey radiation method is the simplest technique of surveying that uses quick point plotting visible from a single station. In this method, the plane table is placed at a fixed station and lines are drawn radiating from this station towards various points of interest in the field. The distance between the station and the points are measured using a chain or tape and are scaled proportionally on the sheet to mark their locations.
This plane table survey is not suitable for projects with a bigger footprint. Rather, it is useful for small-scale surveys like property boundary marking, road layout, or plotting isolated structures where all points of interest are clearly visible from one location. However, as the distances from the station increase, accuracy diminishes, making it less reliable for larger areas or points that are not easily visible.
2.Traversing Method of Plane Table Surveying
Traversing is a technique where the plane table is moved sequentially from one station to the next, forming a connected network of surveyed points. Each station serves as a reference for the next, and the table is oriented at every new station by aligning it with the previous one using a back ray. Details of the terrain or features are plotted as the survey progresses along the traverse line.
The traversing method of plane table survey is ideal for large-area surveys in linearity where continuity and comprehensive coverage are essential. Projects like laying out highways, canals, or pipelines are a classic example of this methodology. It requires accuracy of orientation in plane table surveying to ensure precision in documentation. Having said that, it provides accurate mapping of extended stretches of land.
3. Intersection Method of Plane Table Surveying
The plane table survey intersection method is essential to locate points that are difficult to measure directly. This approach requires the plane table to be set up at two or more stations with known positions. From these stations, rays are drawn toward the target point, and the point’s location is determined by the intersection of these rays on the map.
This method is advantageous for locating points across inaccessible terrains such as rivers, cliffs, or restricted zones. It eliminates the need for proximity to the target points, providing a practical solution for challenging landscapes. Although it offers enhanced accuracy over long distances, its execution depends heavily on clear visibility between the stations and the target.
4. Resection Method of Plane Table Surveying
In the resection method, the position of the plane table itself is determined by sighting three or more reference points with known coordinates. Rays are drawn from these reference points toward the table’s location, and their intersection defines the station’s position on the map.
This is beneficial for establishing new survey stations or re-orienting the table in a pre-mapped area. Its reliance on existing reference points ensures accuracy, provided the reference points are reliable and their positions well-documented.
7 Key Instruments used in Plane Table Surveying

Having the right equipment is the most crucial part of any type of surveying activity. It governs the correctness of data, measurement reach, time, and effort involved in the process. So, let’s explore the main instruments required to conduct a plane table survey.
1. Drawing Board
The drawing board is one of the most central instruments used in plane table surveying. It provides a flat, stable surface where the surveyor places the drawing sheet and sketches the observed features. The board is mounted on a tripod and can be adjusted to maintain a level position during the survey.
Advantages:
- The drawing board is lightweight and easy to transport, making it ideal for fieldwork.
- Compared to digital surveying tools, the drawing board is a budget-friendly option.
Disadvantages:
- While effective for general surveys, the drawing board doesn’t provide the high precision of advanced digital mapping tools.
2. Alidade
Alidade in plane table surveying is a sighting device used to mark the direction of observed points on the map. It consists of a straight edge, usually made of metal or wood, mounted along the edge of the drawing board. The alidade is used to draw rays from the plane table toward the observed points in the field.
Advantages:
- It allows for precise sighting over long distances.
- It can be used to plot visible points directly onto the drawing sheet, enabling the surveyor to capture detailed terrain features.
Disadvantages:
- Proper use of the alidade requires skill, as any misalignment can lead to significant errors in the plotted data.
- Excessive wind or rain can make it challenging to use the alidade effectively in the field.
3. Spirit Level
A spirit level is a vital tool used to ensure the plane table is perfectly horizontal during the survey. It consists of a sealed tube containing liquid and an air bubble. By placing the spirit level on the drawing board, the surveyor can ensure that the board is level in both the longitudinal and transverse directions.
Advantages:
- The spirit level ensures that the plane table is level- which is an important factor for accurate plotting.
- It’s a straightforward tool that doesn’t require much expertise to operate.
Disadvantages:
- It requires constant manual checking and adjustment.
- The spirit level may not be as effective in extremely uneven or sloped terrains.
4. Trough Compass
The trough compass is used to determine the orientation of the plane table relative to magnetic north. This is essential for ensuring that the survey's direction is correctly aligned with the geographical directions. The compass consists of a magnetic needle floating in a trough of liquid which helps the needle align itself with the earth's magnetic field.
Advantages:
- The trough compass ensures the plane table is aligned with magnetic north
- It’s a simple yet highly reliable tool for determining the correct orientation of the table during surveys.
Disadvantages:
- The compass is susceptible to interference from nearby metal objects or other magnetic fields.
- The compass’s functionality may be affected by strong winds or magnetic anomalies.
5. Plumbing Fork
The plumbing fork is used to ensure that the plane table is accurately positioned over a specific point on the ground. It helps in aligning the instrument with a reference point directly below it. The plumbing fork consists of two metal arms in the shape of a “V,” with a plumb bob hanging from the vertex of the fork.
Advantages:
- The plumbing fork ensures that the plane table is aligned directly over a specific ground point.
- It’s a simple tool that doesn’t require complex calculations or adjustments.
Disadvantages:
- The plumbing fork is mainly useful in situations where a precise ground reference is needed. It’s not as versatile in large-scale surveys or areas with uneven terrain.
- If the surface beneath the plane table is disturbed, or if there are wind or vibration issues, the alignment may be compromised.
6. Waterproof Cover
In the field, weather conditions can be unpredictable, and it's essential to protect the plane table and its components from damage due to rain, dust, or other environmental factors. The waterproof cover is designed to shield the plane table, drawing board, and other sensitive instruments from such elements.
Advantages:
- The waterproof cover is essential for protecting instruments from rain, dust, and other weather conditions.
- It prevents damage to the drawing sheets and the plane table.
Disadvantages:
- Carrying a waterproof cover can add extra weight and bulk to the surveyor's equipment.
- The cover needs to be adjusted periodically to ensure it’s properly protecting the equipment.
7. Tripod
The tripod serves as the foundational support for plane table surveying. It holds the drawing board in place and provides stability during the survey. The tripod's height is adjustable, allowing the surveyor to position the plane table at an optimal level for both visibility and comfort.
Advantages:
- The tripod provides a stable base for the plane table, thus reducing the risk of inaccuracy.
Disadvantages:
- Tripods can be bulky and challenging to carry across difficult terrain, which can slow down the survey process.
Advantages and Disadvantages of Plane Table Surveying

Plane table survey is largely based on human wit and capabilities with negligible advent of digital tools. Now, let’s explore the key advantages and disadvantages of plane table surveying.
Advantages of Plane Table Surveying
-
Real-Time Field Mapping
Plane table surveying eliminates the need for transferring data from field notes to the office. This reduces the risk of transcription errors and provides immediate visualisation of the survey area.
-
Cost-Effective Method
It does not require expensive equipment or state-of-the-art technology. It can be done with basic instruments, such as the drawing board, alidade, spirit level, and tripod, thus making it a budget-friendly option for small-scale projects.
-
Simple and Easy to Use
The technique is relatively easy and does not require complex calculations or extensive training. Even surveyors with superficial knowledge of mapping can quickly learn and apply plane table surveying techniques effectively.
-
Suitable for Small and Medium Areas
This method is highly efficient for surveys of small to medium-sized areas where high levels of precision are not required. It is useful in projects such as layout planning for roads, buildings, or minor infrastructure works.
-
Independence from Complex Equipment
Compared to modern-day methods that rely on electronic devices or GPS systems, plane table surveying does not require electricity or batteries. This makes it the go-to choice for remote or undeveloped areas where access to such resources is limited.
Disadvantages of Plane Table Surveying
-
Limited Precision
Plane table surveying lacks the precision of modern techniques like Photogrammetry, LiDAR, and GPS. It is not viable for projects that require higher levels of accuracy.
-
Weather Dependency
The accuracy and usability of plane table surveying are highly dependent on weather conditions. Rain, wind, and harsh sunlight can distort the drawing sheet and make it difficult to sight through the alidade.
-
Cumbersome Setup
While the equipment used in plane table surveying is relatively simple, it can be inconvenient to transport across rugged or inaccessible terrains. Setting up the plane table on uneven surfaces also requires time and effort.
-
Requires Stable Ground
Plane table surveying relies on the stability of the setup to ensure accuracy. Any disturbance to the tripod or ground surface during the survey can lead to errors in the plotted data.
Objectives of Plane Table Surveying
The objectives of plane table surveying are as follows:
- Creating a comprehensive and precise map of the surveyed area
- Setting control points and reference markers for upcoming surveys
- Finding the distances, angles, and directions between multiple points on the ground
- Gathering data for designing smaller infrastructure projects
- Aiding land management and development
Principles of Plane Table Surveying
The core of plane table surveying is formulated on the idea of direct plotting. Its key principle is parallelism- which means the lines drawn on the sheet represent the actual ground directions. The plane table is oriented in such a way that the positions of all points are aligned with their real-world locations. Proper alignment of the table over a ground reference point ensures that the plotted data is spatially accurate.
In Conclusion
Plane table surveying remains an important field technique for civil engineers because it offers a direct way to observe and plot ground features without relying on complex tools. By understanding its definition, core principles, key instruments, and the main surveying methods, radiation, traversing, intersection, and resection, surveyors can document land features quickly and with confidence. The method’s strengths in real-time mapping and simplicity make it valuable for small and medium sites, even though weather and terrain can affect precision.
To build surveying skills that match today’s digital workflows, adopting BIM-based learning is a strong next step. The BIM Professional Course for Civil Engineers by Novatr helps learners understand how modern software supports accurate mapping, infrastructure planning, and effective field coordination. This training adds practical value for civil engineering roles and enhances employability in top AEC firms.
Explore more surveying resources, software guides, and civil engineering insights on our Resources Page.
Frequently Asked Questions:
1. Which instruments are required for plane table surveying?
Plane table surveying uses seven main instruments: the drawing board, alidade, spirit level, trough compass, plumbing fork, waterproof cover, and tripod. Each tool supports accurate plotting, leveling, orientation, and field protection during the survey.
2. What temporary adjustments are made before starting a plane table survey?
Temporary adjustments include leveling the board with the spirit level, centering the table over the station point using the plumbing fork, and orienting the sheet with the trough compass. These steps ensure accurate plotting before observations begin.
3. What are the radiation, intersection, traversing, and resection methods?
The radiation method plots points from a single station.
The intersection method locates distant or inaccessible points using rays from two stations.
The traversing method follows a connected line of stations for mapping long routes.
The resection method determines the table’s position by sighting known reference points.
4. What is the two-point and three-point problem in plane table surveying?
The two-point problem is used when the table’s position is roughly known and must be adjusted using two fixed points. The three-point problem identifies the exact position of the plane table by sighting three known ground points to achieve complete orientation.
5. Which compass is used with a plane table and why?
A trough compass is used with a plane table because it aligns the board with magnetic north. This ensures that all directions drawn on the sheet accurately match real-world bearings, improving consistency across survey stations.
Was this content helpful to you


