.jpg)
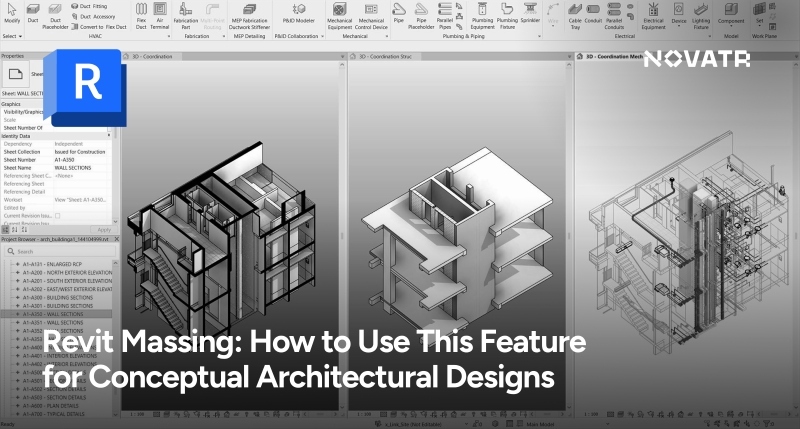

What is Revit Massing?
Revit Massing is a collection of tools housed in the "Massing & Site" tab. It is meant to help architects draft initial forms, surfaces, and building shapes that will later be transformed into construction elements.
These capabilities collectively enable designers to establish the volumetric extent of their design, experiment with spatial configurations, examine environmental conditions, and initiate the architectural story in a BIM-compatible environment.
Guide to Creating Conceptual Masses
The real power of massing in Revit architecture lies in how it transforms 2D sketches into intelligent, editable 3D forms. It is easy and flexible to create a conceptual mass in Revit. Follow these step-by-step instructions to get you started:
Step 1: Access the Massing Environment
- Go to the Massing & Site tab.
- Click on In-Place Mass and give your massing model Revit a name.
Step 2: Establish Reference Levels and Planes
- Utilize existing levels or establish new levels for story heights.
- Insert reference planes to set control lines for sketches and forms.
Step 3: Base Profile Sketching
- Utilize 2D drawing tools like Rectangle, Circle, Spline, and Polygon.
- Maintain closed loops to form solid shapes.
Step 4: Make 3D Forms
- Apply the Create Form command to extrude, blend, revolve, or sweep the profiles.
- Adjust parameters and grips to refine the shape.
Step 5: Apply Parameters
- Parameterize your mass by giving values and formulas to height, width, angle, and so on.
- This allows for simple iteration and versioning.
Step 6: Finish the Mass
- Click Finish Mass to finish and leave the massing environment.
- Your conceptual form is now ready for analysis and additional detailing.
Advanced Massing Techniques in Revit

Once you’ve created the basic massing model in Revit, several advanced features can enhance and integrate your design with real-world data.
1. Mass Floors
You can easily calculate usable area and volume by assigning floor levels to your mass. This proves useful when dealing with commercial and residential projects where Revit mass floors influence zoning and budget determinations.
2. Divided Surfaces
Surface division tools allow you to divide a mass face into grids, which is perfect for exploring facade design and material patterns.
3. Environmental Analysis
You can analyze how different orientations and shapes affect natural light exposure and shading by pairing sun path and shadow analysis.
4. Site Integration
Use Revit site massing tools to locate your mass on topography, roads, and site boundaries. This ensures your design works in context, factoring in terrain slopes and site restrictions.
5. Model by Face
After you've nailed your idea, you can then convert mass surfaces into building components like walls, floors, and roofs by using the "Model by Face" command. This completes the cycle between low-level and high-level design.
Together, these tools bring Revit massing models from geometric blocks to an actual working piece of the BIM process.
Also Check out: How To Access Free Revit Families & Use Them For Your Architecture Project
How Massing Shapes Smarter BIM Workflows

Massing in Building Information Modelling (BIM) is the process of creating initial-rough geometric volumes to experiment with building design concepts before detailed modeling.
- Conceptual Design Exploration: Enables quick exploration of various building shapes and spatial arrangements.
- Integration with Building Systems: Links early forms to structural, mechanical, and energy analysis tools.
- Collaborative Design Process: Enables massing models to be quickly shared and edited between disciplines.
- Visualization and Communication: Offers crisp 3D perspectives to communicate design intention to clients and stakeholders.
- Analysis and Optimization: Facilitates analyzing environmental conditions such as sunlight, wind, and zoning requirements at the initial stage.
Also Check out - How Revit Massing is revolutionizing early stage architecture
Revit vs. Other Conceptual Tools

How does Revit's massing capability stack up against other conceptual design tools? Here's a quick comparison:
|
Revit Massing Feature |
Function |
Application in Design |
|
In-Place Mass |
Create mass forms directly in a project |
Site-specific studies, one-off conceptual forms |
|
Conceptual Mass Environment |
Separate mode for designing parametric mass families |
Early-stage massing models with parametric controls |
|
Mass Floors |
Define floor levels within a mass |
Floor area calculations, volume assessments |
|
Curtain Systems on Massing |
Apply curtain walls and panels on mass surfaces |
Visualizing façade systems, energy performance studies |
|
Form Tools (Extrude, Blend, etc.) |
Create and manipulate 3D mass forms |
Complex geometry, organic architecture experimentation |
|
Reporting Parameters |
Add parameters to masses for scheduling and analysis |
Floor area ratio (FAR), gross area, and energy usage estimates |
|
Sun Path & Shadows |
Analyze how massing responds to solar angles |
Passive design, shading studies, and building orientation |
How Novatr Enables You to Master Revit Massing and BIM
If you want to master Revit—not only the software but its applications in the real world—Novatr provides an industry-specific solution. Some of them are:
- Project-Based Learning
- Expert Mentorship
- Interoperability Training
- Portfolio Development
- Career Guidance
Novatr also regularly updates its curriculum to match evolving industry demands. So whether you’re an undergraduate student or a working architect looking to shift toward BIM, their courses offer a guided pathway to upskilling with purpose.