
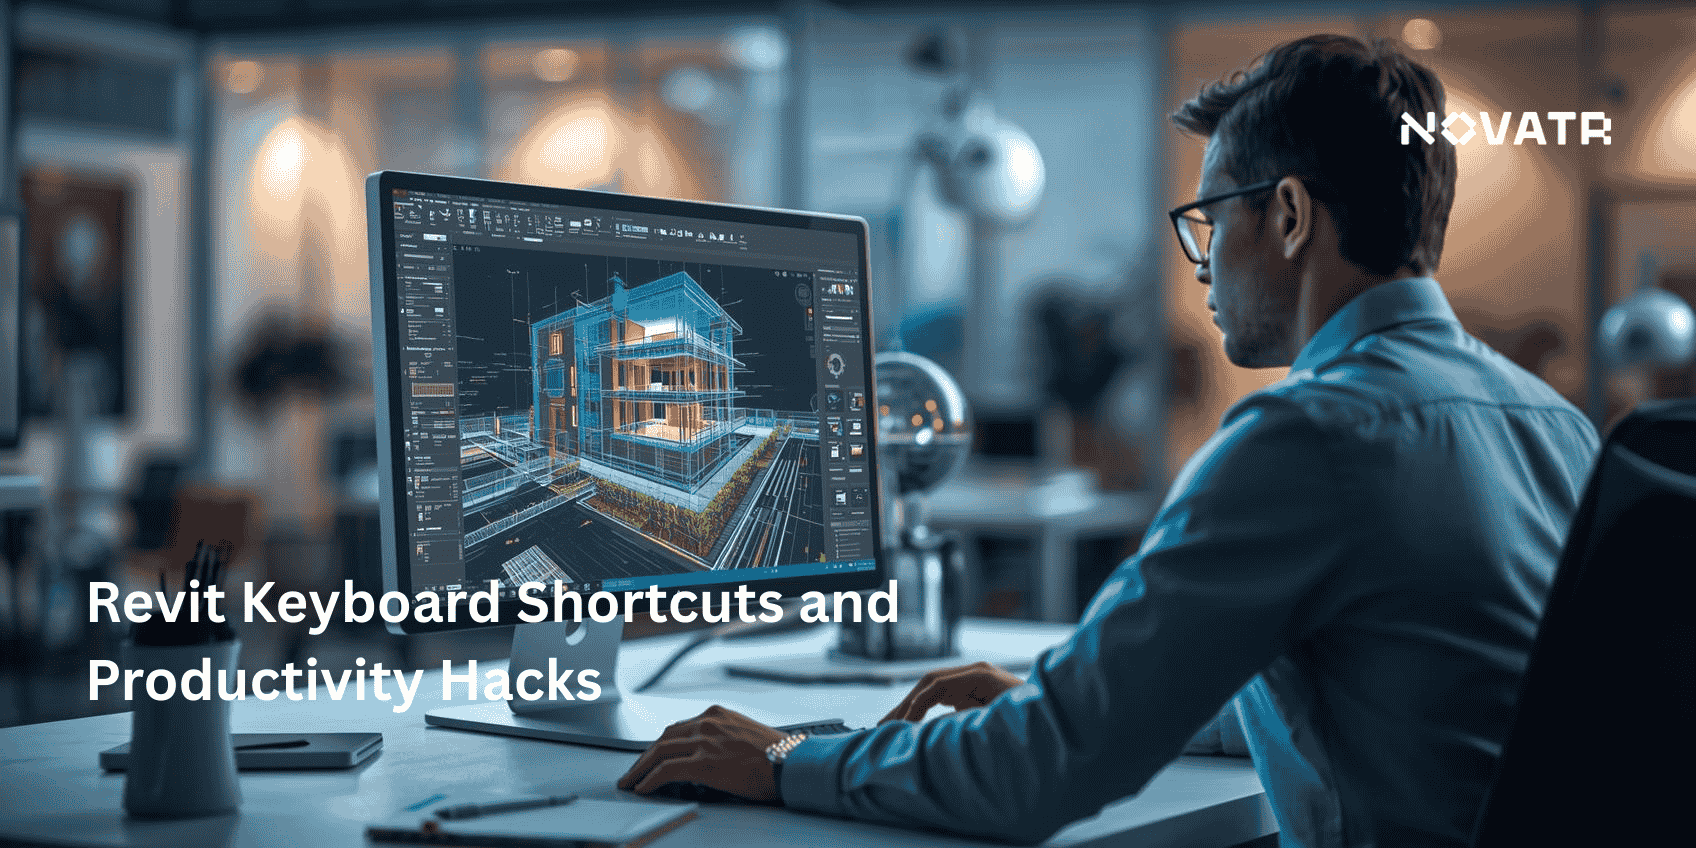

Why Use Keyboard Shortcuts in Revit?
In the modern dynamic world, time is money. Another tip to make Revit workflow more efficient is to incorporate Revit keyboard shortcuts into your daily workflow: this enables you to reduce the use of the mouse and navigation. That will enable you to create Revit drawings, revise Revit models, and coordinate designs at a much faster pace.
The benefits of learning Revit include control of all core tools of the software, and not to forget advanced tools in the software, such as view controls, annotation tools, and sheet creation. Combining these tools with Revit shortcuts not only makes you more valuable to employers, but it also makes you more desirable to companies specializing in BIM Revit architecture, construction documentation, and coordination-intensive jobs.
So, to answer, what is Revit software used for and how you can use it in an efficient way will define the speed at which you advance to such leadership positions as BIM coordinator, the project architect, or even a trainer.
What Are the Most Useful Revit Keyboard Shortcuts?
The top benefits of Revit shortcut commands are outlined below with a brief description of each of them. These are commands that can be employed in any discipline, regardless of whether one is working with Autodesk Revit architecture, its Revit MEP software, or working on Revit design documentation.
To use these Revit keyboard shortcuts, simply type the two-letter command directly into the drawing space after selecting the appropriate tool or view; no need to navigate the ribbon menus.
1. MV: Move
Moves selected objects or groups within the Revit 3D model, which enables you to move the objects with precision.
2. CO: Copy
Reproduce entities similar to whole views or detail items along views or sheets in your Revit architecture project.
3. RO: Rotate
Rotates all selected elements and is perfect when setting the angle of the walls or orienting fixtures in Revit for architecture layouts.
4. MM: Mirror
Mirrors selected elements using a designated axis, perfect for symmetrical building designs in Revit models.
5. DI: Aligned Dimension
Adds aligned dimensions to elements in your view, ensuring that Revit drawings are precise and properly annotated.
6. WA: Wall
Creates new walls, the core of architectural modeling. It’s a must-know shortcut for anyone involved in the application of Revit in architecture.
7. DR: Door
Puts doors in host components like walls. An essential order during the creation of a spatial layout and interior design.
8. WN: Window
Inspects wall elements by adding windows to form and define your Revit design capacity to determine openings and how to consider natural lighting.
9. CS: Create Similar
Picks an object and instantiates a copy of it. This saves clicks in developing numerous similar items.
10. VG: Visibility/Graphics Overrides
Opens the graphics settings for the view, allowing control over visibility and display settings of model elements.
11. VP: View Properties
Shows attributes of the current view, which might be helpful in case you should be handling sheet settings, scale, or view templates.
12. TX: Text
Places the annotation text. Crucial for documentation and communicating design intentions clearly within Revit drawings.
13. GR: Grid
Adds structural or layout grids, supporting both architectural planning and MEP alignment in Revit MEP software.
14. RR: Render
Initiates rendering of the current view, which is especially helpful for visualization specialists working on presentation deliverables.
15. ZA: Zoom All
Fits all open views to the screen. Great for multitasking and model navigation across sheets and 3D views.
16. TR: Trim to Corner
Joins the lines or walls to make a clean corner. This enhances the precision of the development of Revit 3D models.
17. TL: Thin Lines
Toggles thin lines for easier view analysis and helps in aligning elements precisely in floor plans or elevations.
18. PN: Project Browser
Brings focus to the Project Browser window, helping you switch between views or families without losing pace.
19. SL: Split Element
Splits walls, lines, or pipes into two segments. Widely used in both Revit architecture and Revit MEP software.
20. UN: Project Units
Allows customization of units such as meters or feet, helping align project data with regional Revit requirements.
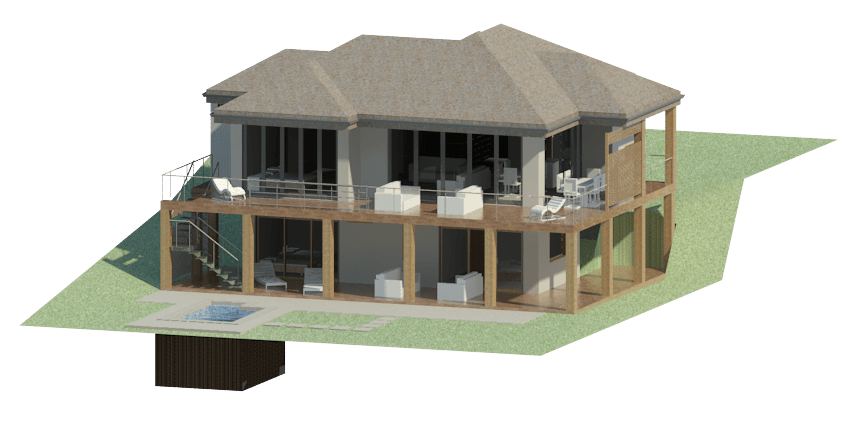
Tips for Maximizing Productivity
.webp?width=1000&height=800&name=Revit-Duplex%20(G+1%20building).webp)
Here are some tips to maximize your productivity:
-
Customize Shortcuts: Though a large variety of commands are covered by the default shortcuts, customizing shortcuts to the most common tasks is highly effective at accelerating Revit learning.
-
Use Shortcut Cheat Sheets: It is handy to have a printed or digital list of the key Revit shortcut commands in your visiting area so that you can refer to them when need arises.
-
Combine Commands: Many shortcut options (such as WA (Wall) and DI (Dimension)) can be paired so that you can also select them to construct and annotate without using the tool manually.
-
Practice by Discipline: If you are involved in MEP, start with the Revit MEP software shortcuts. Architects must center on the modeling and annotation instruments that are of interest to the position.
-
Revisit Revit Plugins: A lot of Revit plugins also contain more keyboard shortcuts and functionality to allow the use of their tools to extend the functionality of native tools.
Tips for Effective Shortcut Implementation
Here are some tips for effective shortcut implementation:
-
Start Small: Start with 5-6 shortcuts that you frequently operate and then extend them with your comfort.
-
Reinforce Through Repetition: Repetition is the key to developing muscle memory of the shortcuts, which means that you will have less and less need to use the toolbar.
-
Explore New Features: Keep up with Revit new features introduced in the latest releases; many come with new shortcut capabilities.
-
Join Online Communities: If you learn Revit online, join user groups that share tips, hacks, and evolving trends in keyboard workflow optimization.