

.jpg)

What is Anemone?
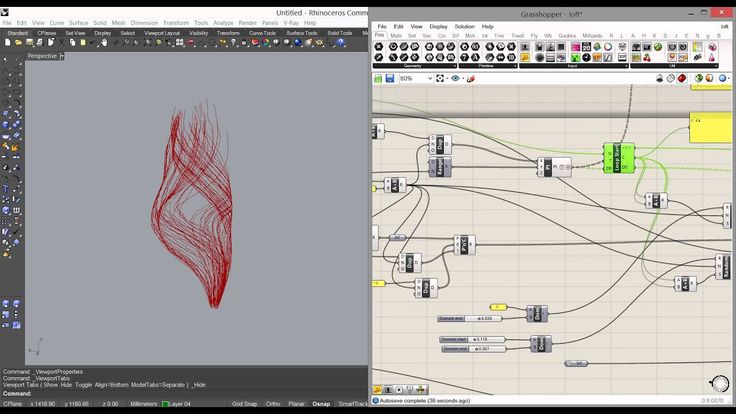
Anemone is a looping plugin used within Grasshopper, a visual programming tool for Rhino. It enables designers to execute recursive and iterative operations, something that Grasshopper’s native setup doesn’t inherently support.
Key features of Anemone for Grasshopper include:
- Loop Start and Loop End components: Define the beginning and end of each iterative cycle, making control of iterations intuitive.
- Customizable loops: Set specific iteration counts or stop conditions to regulate the number of cycles.
- Visual debugging tools: Track iterations in real time to identify issues or refine the process.
- Conditional logic integration: Apply “if” conditions to dynamically adapt outputs.
- Smooth plugin compatibility: Combine Anemone with other computational design plugins like Kangaroo or Ladybug for parametric and environmental analysis.
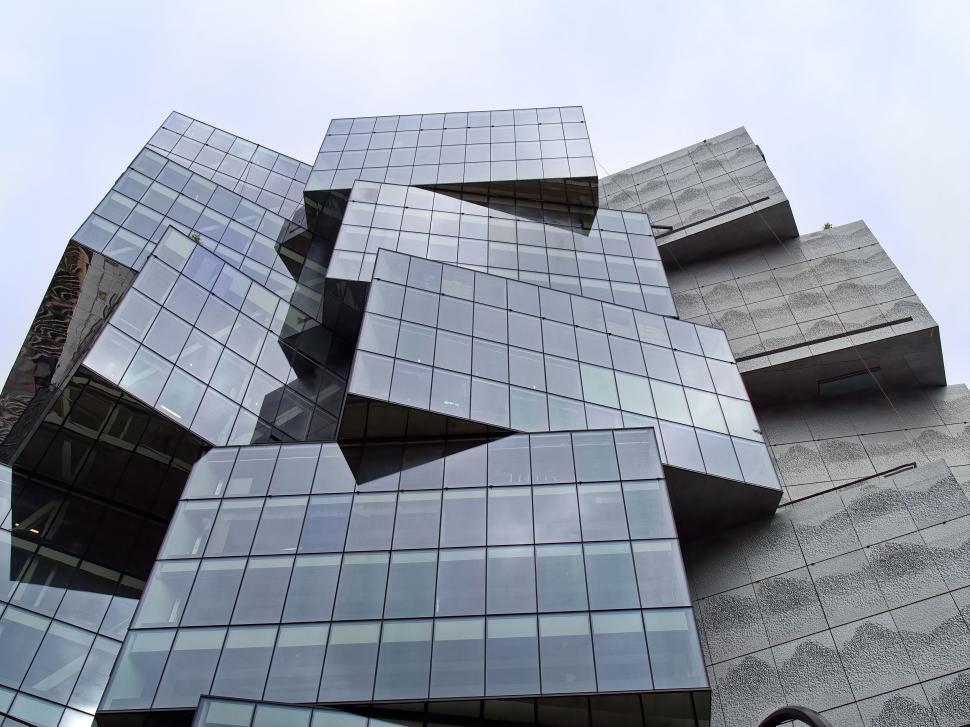
The Anemone plugin in Grasshopper for facade design stands out for its ability to automate complex geometries and streamline performance-driven design. Architects use it to test multiple design solutions quickly, ideal for creating responsive shading systems and adaptive facades that enhance both energy performance and visual character.
Key Features for Facade Design
When working with Anemone for Grasshopper, several features are particularly relevant to facade design.
- Looping and Iteration: Enables generation of complex geometries based on rule-based systems, ideal for facades that evolve through repetition.
- Dynamic Control Parameters: Allows real-time adjustments during loops, supporting rapid facade optimization.
- Conditional Logic: Integrates data-based rules like sunlight or airflow responsiveness.
- Data Management: Organizes iterative outputs, helping designers analyze form and performance.
- Compatibility with Other Tools: Works smoothly with Ladybug and Weaverbird, expanding the potential of building facade design by integrating simulation and refinement.
In computational design, facades often require balancing light, temperature, and aesthetics. With Anemone for Grasshopper, designers can simulate how panel systems perform under different conditions and automatically adjust their patterns based on data.
Step-by-Step Tutorial: Using Anemone for Iterative Facade Design
This tutorial demonstrates how to use Anemone for Grasshopper to create a simple iterative facade pattern.
Step 1: Set Up the Base Geometry
Start by defining a rectangular grid on your building surface using Grasshopper’s “Divide Surface” component. This forms the base for your iterative pattern.
Step 2: Install and Load Anemone
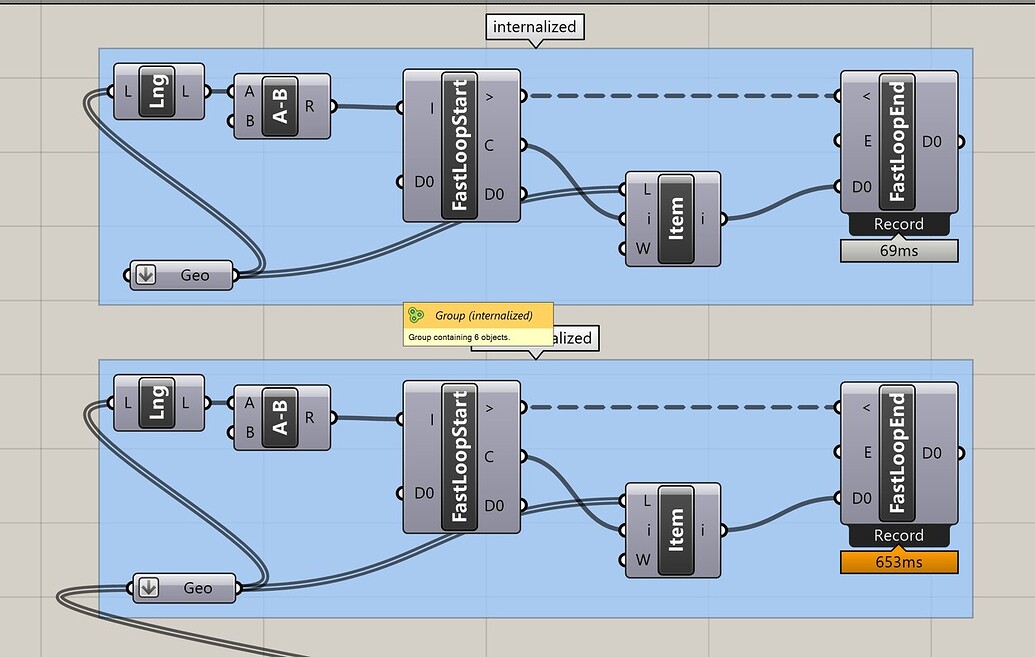
Ensure the Anemone plugin in Grasshopper for facade design is installed. Add Loop Start and Loop End components on your canvas and connect them to create the loop structure.
Step 3: Create Iteration Logic
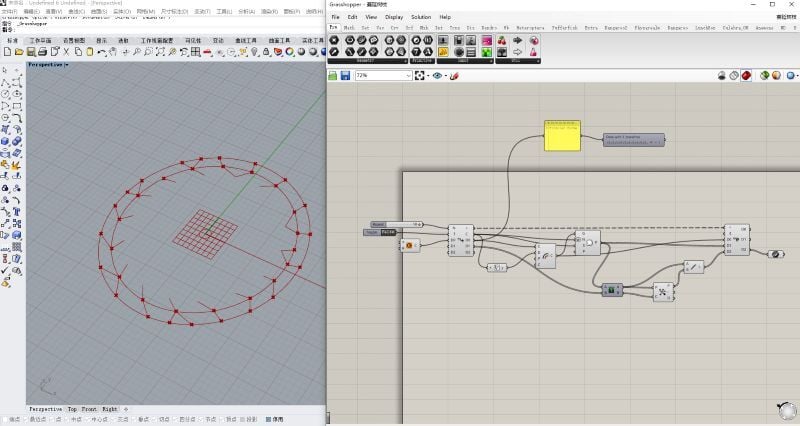
Insert transformations like scaling or rotation inside the loop. Each panel changes slightly with every iteration, for example, rotating a bit more to simulate dynamic shading.
Step 4: Introduce Parameters
Add sliders to control iteration count. Adjusting these lets you test how iteration numbers affect the facade’s overall form. This method is central to how to use Anemone Grasshopper for optimization.
Step 5: Add Conditional Controls
Use components like “Dispatch” or “Evaluate” to modify geometry based on sunlight data or performance criteria. This transforms your setup into an adaptive system.
Step 6: Visualize the Result
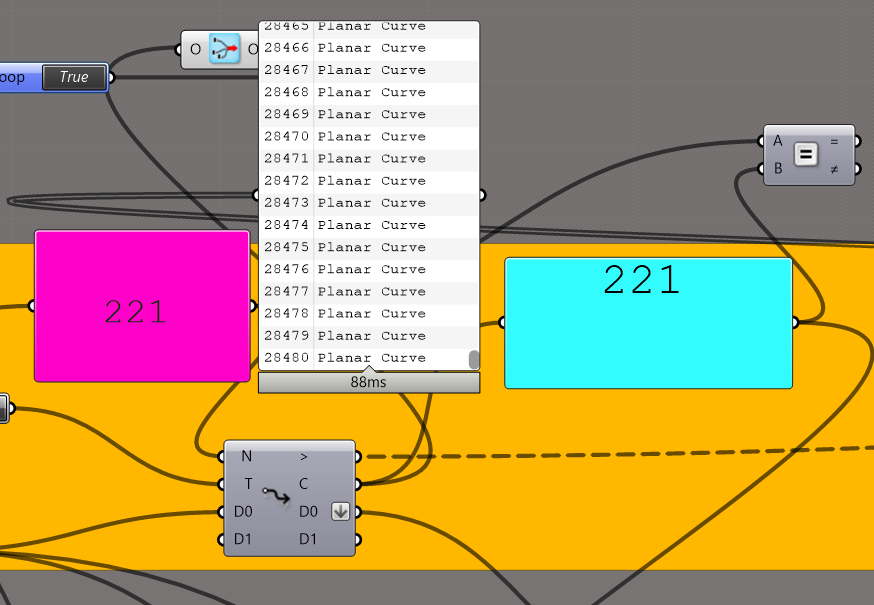
Connect the loop output to visualization components or render it in Rhino. The evolving pattern represents an iterative facade ready for refinement.
Step 7: Refine and Test
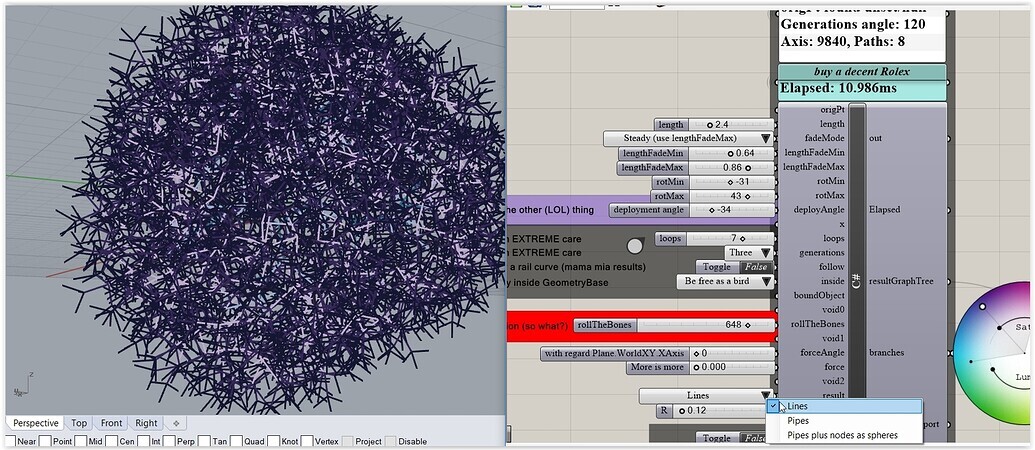
Change inputs such as rotation angle or panel depth and watch how Anemone updates the model dynamically. Combining iterations with simulation tools enhances facade optimization and data-backed design decisions.
This workflow showcases the flexibility of Anemone tutorial Grasshopper processes. Designers can adapt it for perforated panels, shading fins, or kinetic systems. Many Grasshopper Anemone examples explore similar logic to test responsive architecture solutions.
Tips & Best Practices
Using Anemone for Grasshopper effectively requires a balance between computational control and creativity.
- Limit iterations to prevent unnecessary processing time.
- Pair Anemone with environmental tools for informed design outcomes.
- Label loop outputs to maintain organized data.
- Preview intermediate results for accuracy.
- Experiment with different Anemone Grasshopper script versions to refine results.
The goal of iterative modeling is not only visual creativity but also data-driven facade optimization. A well-structured workflow turns static models into responsive, adaptive systems.
How Novatr Can Help?
Professionals looking to master Anemone for Grasshopper can upskill with Novatr’s Master Computational Design course, which focuses on hands-on, project-based learning. Learners gain practical skills in Anemone Grasshopper script development and performance-based facades under expert mentorship.

Here’s what you’ll learn in detail along with Anemone for Grasshopper:
- Learn 5 powerful industry tools — Grasshopper, Rhino 3D, Flux.ai, ComfyUI, and D5 Render.
- Master popular plugins like Paneling Tools, DeCoding Spaces, Anemone, Galapagos, Wallacei, LunchBox, Open nest and Horster Animation to create smarter, faster design workflows.
- Understand how to build parametric and generative design workflows used by top global firms.
- Learn how to automate repetitive design tasks, explore AI-driven creativity, and produce high-quality renders for presentations.
- Develop a professional computational design portfolio showcasing your project-based learning.
Earn dual certification from Novatr and NSDC (National Skill Development Corporation) upon completion, and step confidently into the world of future-ready architecture and design.
Disclaimer: Course details, including curriculum, duration, fees, and related information, are for informational purposes only and may change at the company's discretion without prior notice. Please visit their official course page or contact our admissions team for the latest updates.