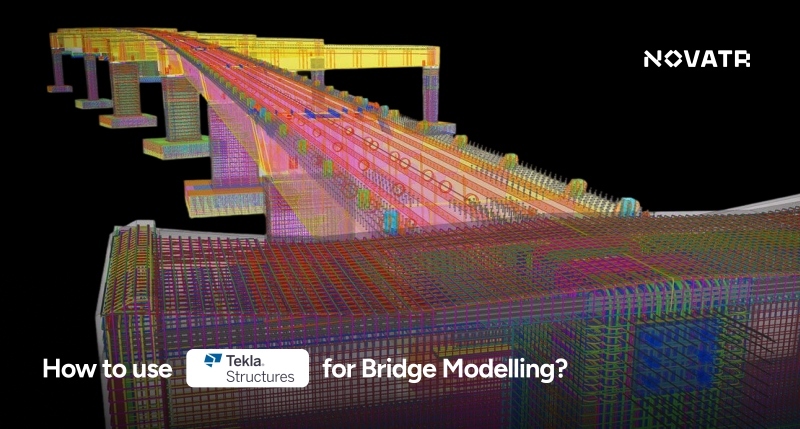
.jpg)


Why Civil 3D is the Standard for Road Design in the US?

Civil 3D provides the road solution based on its overall content integration with other Autodesk products and its capacity to undertake complicated tasks such as corridor modeling, road intersection design in Civil 3D, and detailed highway design in Civil 3D. Autodesk Civil 3D software, used by civil engineers, automates various sections of the road design, thus minimizing errors and maximizing efficiency.
This has seen it become the tool of choice among civil engineers in the US, and the software is used to carry out the end-to-end road design and development process, including the initial concept phase and culminating in design documentation during construction.
Setting Up a Civil 3D Project for Road Design
To get started with road design using Civil 3D, follow these key steps:
- Surface Creation: Surface development can be done by importing the previous data into point clouds, contours, or DEM files to create a precise surface of the area where the road is being built.
- Alignments: Determine the road's horizontal position and identify the centerline path. Tangents, curves, and spirals may be specified to make the road smooth in its direction.
- Site Plan Import: Import (CAD) or (GIS) information that contains the relevant site plans, aerial images, or surveying information so that the construction of the road project can have an accurate integration with the surrounding settings.
Creating Road Alignments and Profiles

These are the essential steps to design road in Civil 3D, ensuring that both the geometry and elevation are precise and meet the project's specifications.
Step 1: Define Horizontal Alignment: This is contributed by terms used in Civil 3D to define the path the road will take through the land. It is an important measure to obtain a smooth curve, and transitions are critical to road safety and comfort.
Step 2: Create Vertical Profile: Once the horizontal alignment has been positioned, develop a vertical profile that establishes the grade, elevations, and vertical curves of the road. This aids in the design of the elevation changes of the road.
Step 3: Provide Proper Drainage and Elevation Change: Vertical profile design will dictate decent drainage and change of elevations, which is essential in the functional design of the road.
Step 4: Lock Geometry and Elevation Precision: Geometry (Horizontal Alignment) should be fine, along with Elevation (Vertical Profile), and fall to project specifications. This will ensure the road is industry-standard designed.
Corridor Modeling and Assembly Creation

You are now in the position to continue with the actual road structure modelling, now that you have set your alignments and profiles:
1. Civil 3D Corridor Modeling:
The road built by your alignment and profile is a 3D corridor model. Cross-sectional items such as lanes, shoulders, and slopes can be defined with the help of the assembly creation tools of Civil 3D.
2. Assembly Creation:
An assembly is a template of a road cross-section in Civil 3D. You may have standard assemblies or develop assemblies centred on a particular road design.
Labeling and Generating Plan & Profile Sheets

Once the road is designed, it is time to build the final deliverables:
- Labeling: Civil 3D provides automation on labelling, which includes stationing, curve data, elevations and any other parameters required. The road design becomes very well-documented and readable due to such labels.
- Generating Plan & Profile Sheets: There are also possibilities to automatically generate plan and profile sheets in Civil 3D based upon your created designs. These sheets can be presented to the clients or the regulatory bodies, conforming to a standard drafting process.
This streamlined process is part of the Civil 3D road design workflow, which significantly reduces the time and effort required to prepare final documentation.
Exporting for BIM: Civil 3D to InfraWorks, Revit or Navisworks
Civil 3D plays a pivotal role in the BIM ecosystem, making it easier to collaborate with other stakeholders:
1. Exporting to InfraWorks:
Civil 3D can export road design information into InfraWorks, which can be used to get a better overview of the project within a greater urban environment.
2. Exporting to Revit:
For projects that require building systems integration, you can export Civil 3D data to Revit. This facilitates coordination between civil, structural, and architectural designs.
3. Exporting to Navisworks:
Civil 3D can also tie into Navisworks for multi-project coordination, clash detection, and simulation.
How to Master BIM?

Mastering Civil 3D road design is an essential skill for civil engineers working with BIM workflows. Learning BIM and Civil 3D provides you with the skills to manage every aspect of a road design project, from conceptualization to construction.
Mastering Civil 3D road design is a pillar of our Building Information Modelling (BIM) Course for Civil Engineers, which provides hands-on training with real-world projects used by top infrastructure firms.